Microgreens have become increasingly popular in recent years, as more and more people discover the incredible taste and nutritional benefits these tiny plants offer. At Sky Sprouts, we are passionate about making it easy for everyone to grow and enjoy their own fresh, healthy microgreens. In this comprehensive guide, we’ll teach you everything you need to know to get started with growing your own microgreens at home.
What Are Microgreens?
Microgreens are the young, tender, edible shoots of vegetables, herbs, and other plants that are harvested just after they’ve developed their first set of true leaves, typically between 7 and 14 days after germination. They are packed with nutrients and flavour, making them a popular addition to salads, sandwiches, smoothies, and more.

Types of Microgreens
There is a wide variety of microgreens to choose from, each with their own unique taste and nutritional profile. Some popular microgreens include:
- Radish
- Broccoli
- Kale
- Arugula
- Pea
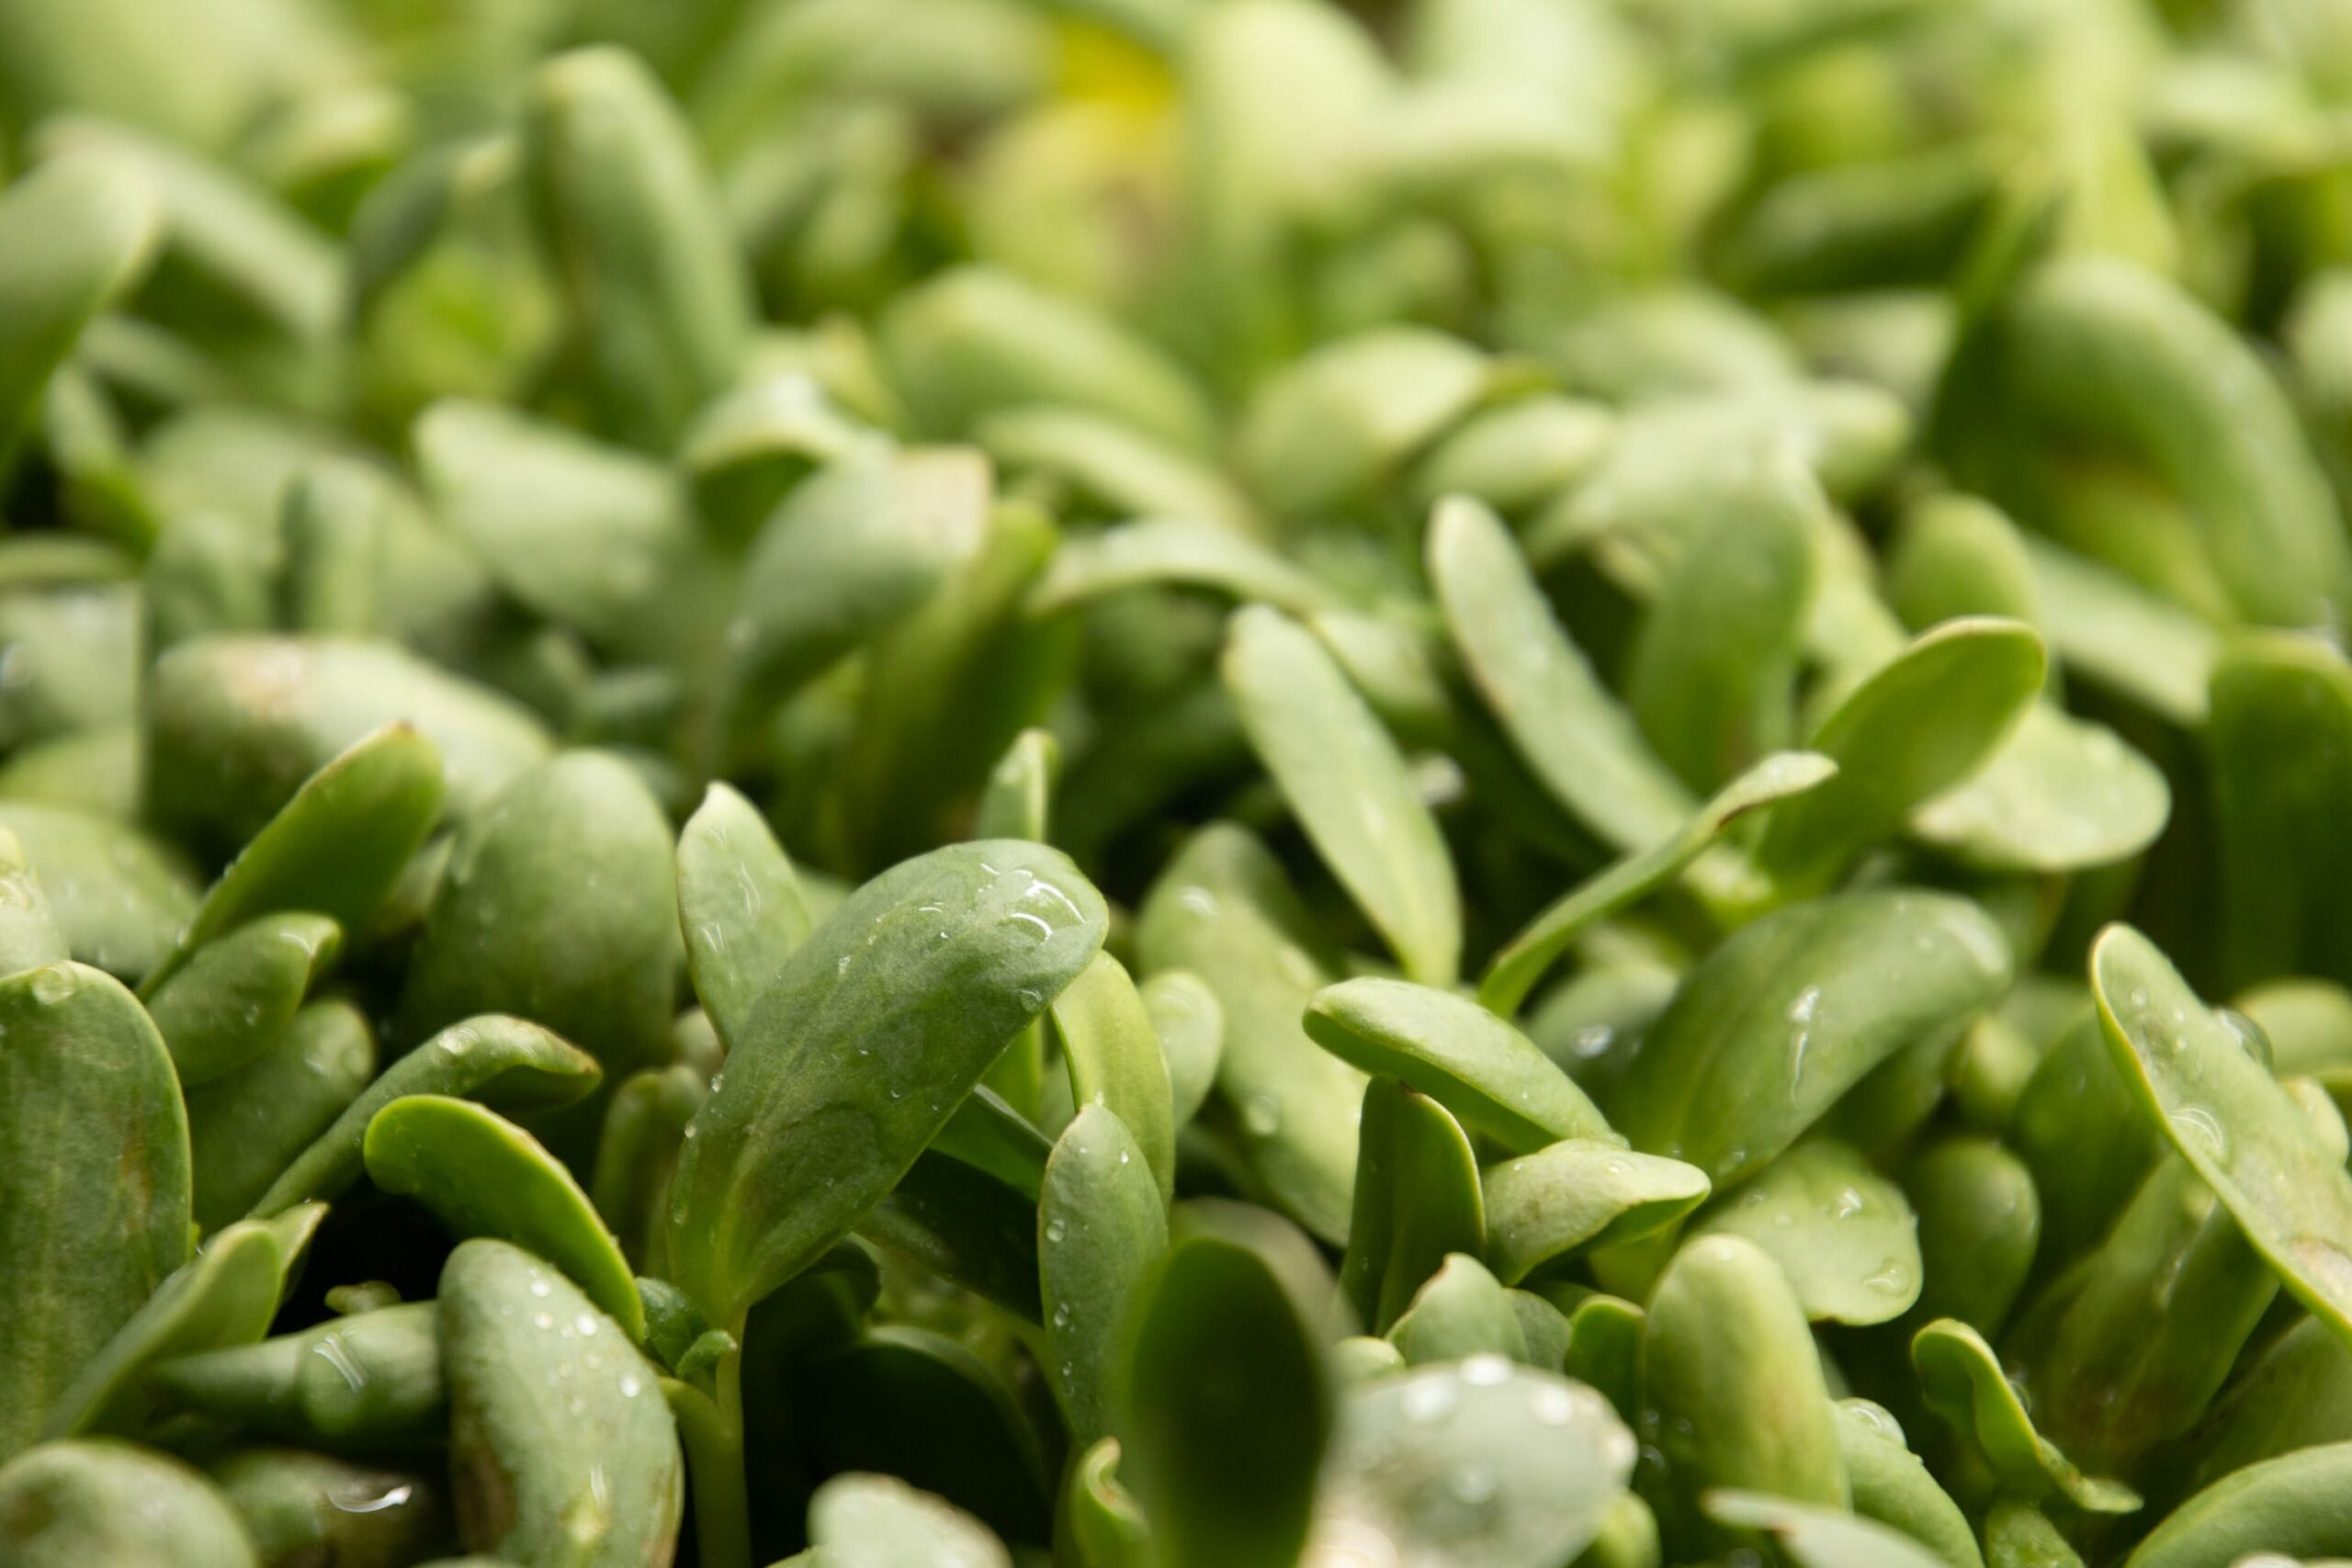
- Sunflower
- Beet
- Mustard
- Basil
- Cilantro

Getting Started: Microgreen Supplies and Equipment
To grow microgreens at home, you will need the following supplies:
- Microgreen seeds: Purchase seeds specifically labelled for microgreen cultivation, as they are often tested for pathogens and come in larger quantities.
- Growing medium: Choose a soilless growing medium like coconut coir or a quality potting mix, which will provide the necessary nutrients and moisture retention for your microgreens.
- Growing trays: Select shallow trays (1-2 inches deep) with drainage holes to hold the growing medium and seeds.
- Spray bottle: A spray bottle is essential for gently watering your microgreens.
- Light source: Microgreens require a good amount of light to grow, so a sunny windowsill, a grow light, or a combination of both will be necessary.

Steps to Growing Microgreens at Home
- Prepare the growing medium: Moisten your chosen growing medium with water until it’s damp but not soggy. Fill your growing trays with the medium, ensuring it’s level and firmly packed, leaving about ¼ inch space below the rim of the tray.
- Sow the seeds: Evenly spread the microgreen seeds across the surface of the growing medium. The seeds can be sown relatively close together, as they won’t be growing to their full size. Gently press the seeds into the medium, ensuring good contact.
- Cover the seeds: Depending on the size of the seeds, you may need to cover them with a thin layer of growing medium. Smaller seeds can be left uncovered. Check the seed packet for specific instructions.
- Water the seeds: Use a spray bottle to gently mist the seeds and growing medium. Be careful not to displace the seeds with a strong jet of water.
- Create a humid environment: Cover the tray with a plastic dome or another tray to help retain moisture and create a humid environment that promotes germination.
- Place the tray in a warm location: Most microgreens prefer temperatures between 18-22°C (65-72°F) for germination. Place the tray in a warm location, away from direct sunlight, for the first few days.
- Monitor and maintain moisture: Check on your seeds daily, ensuring the growing medium remains consistently moist. Use the spray bottle to water as needed, being careful not to overwater.
- Expose to light: Once the seeds have germinated and you see small shoots emerging (usually within 3-7 days), remove the cover and place the tray in a sunny windowsill or under a grow light. Microgreens require at least 12-16 hours of light per day for optimal growth.
- Water your microgreens: Continue to use the spray bottle to gently water your microgreens daily, ensuring the growing medium remains consistently moist but not waterlogged. As the microgreens grow, you can switch to bottom watering by adding water to a tray and placing the microgreen tray inside. This helps to prevent overwatering and reduces the risk of mould or fungus.
- Rotate the tray: If your microgreens are growing towards the light source and becoming uneven, rotate the tray every day or two to encourage even growth.
- Monitor for pests and disease: Keep an eye out for any signs of pests or disease on your microgreens. If you notice any issues, address them immediately to prevent spreading. Maintaining a clean growing environment and proper air circulation can help prevent many issues.
- Harvest your microgreens: Microgreens are ready to harvest once they’ve developed their first set of true leaves, usually between 7 and 14 days after germination. To harvest, use a clean, sharp pair of scissors to cut the microgreens just above the growing medium. Rinse and dry your microgreens before consuming or storing them.
- Store your microgreens: Freshly harvested microgreens can be stored in the refrigerator for up to a week. Place them in a container lined with a paper towel to absorb any excess moisture, and cover them loosely with a lid or plastic wrap.
- Clean up and start again: After harvesting, you can compost the used growing medium and any remaining plant material. Clean and sanitize your trays before starting a new batch of microgreens.

Tips for Success
- Experiment with different varieties: Try growing different types of microgreens to find your favourites and to add variety to your meals.
- Grow multiple trays: Start a new tray of microgreens every few days to ensure a continuous supply of fresh greens.
- Use a fan: A small fan can help improve air circulation around your microgreens, reducing the risk of mould and promoting stronger, healthier plants.
- Test your water: If you’re experiencing issues with your microgreens, test the pH and nutrient levels of your water, as they can impact the growth of your plants.
Conclusion
Growing microgreens at home is an easy and rewarding process, allowing you to enjoy fresh, nutrient-packed greens year-round. With this guide, you’ll be well on your way to cultivating your own microgreen garden. Explore the wide variety of microgreens available, and experiment with different growing techniques to find what works best for you. Happy growing.